 Author: Kristian ‘Kristus’ Käll
Released: January 12th 2010
Download: Here
Introduction
D’sparil cursed Corvus to endlessly wander the the outworld, always having D’sparil’s minions breathing down his neck and D’sparil himself haunting Corvus in his dreams. Two forces moving to meet one another. Corvus, hunting towards D’sparil’s life source. D’sparil driving Corvus with his minions to where he want him to meet.
Review
The Curse of D’sparil is an episode consisting of nine singleplayer levels, each one doing well to follow specific themes and adding a particular style of gameplay to help ensure that they will feel different from the last. It manages to achieve all of this, while remaining a high quality and enjoyable experience throughout. Almost every map, besides the secret level, have been designed by only a single mapper. Although this might cause a bit of concern for some people who may assume the episode will eventually become repetitive and stale partway through as a result. Fortunately this isn’t the case here. What Kristus has done well in this project is paying close attention to each map and giving them their own distinctive feel and helps succeed in doing that through the varied gameplay, detailed architecture, lighting and brilliant work with texturing using only the original assets. The gameplay is generally based around fighting against hordes of enemies, but dealt with in a number of ways depending on the level, providing challenging battles, while some button and key hunting remain mostly on the sidelines.

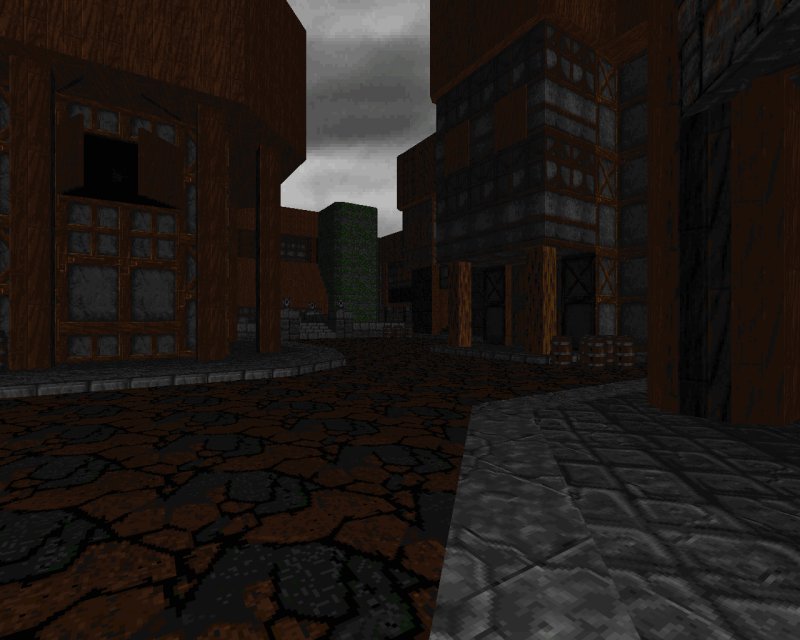
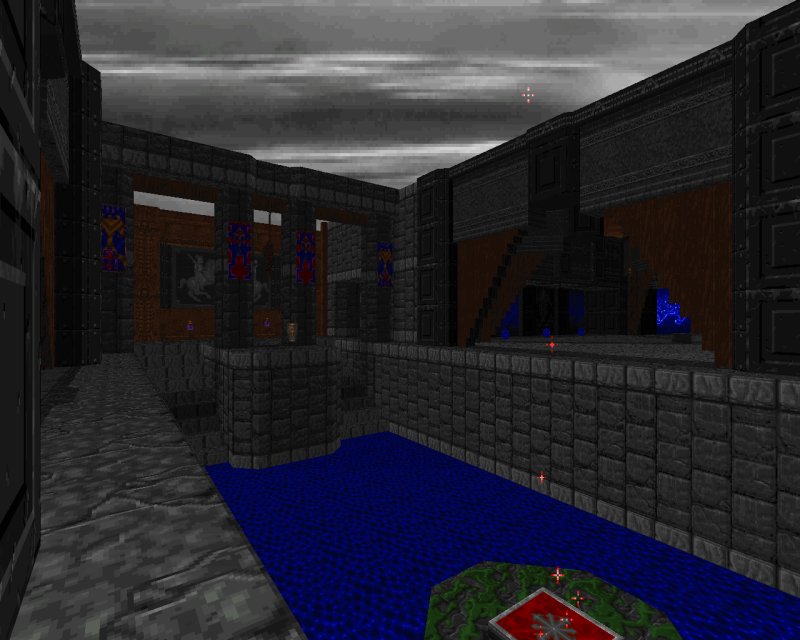
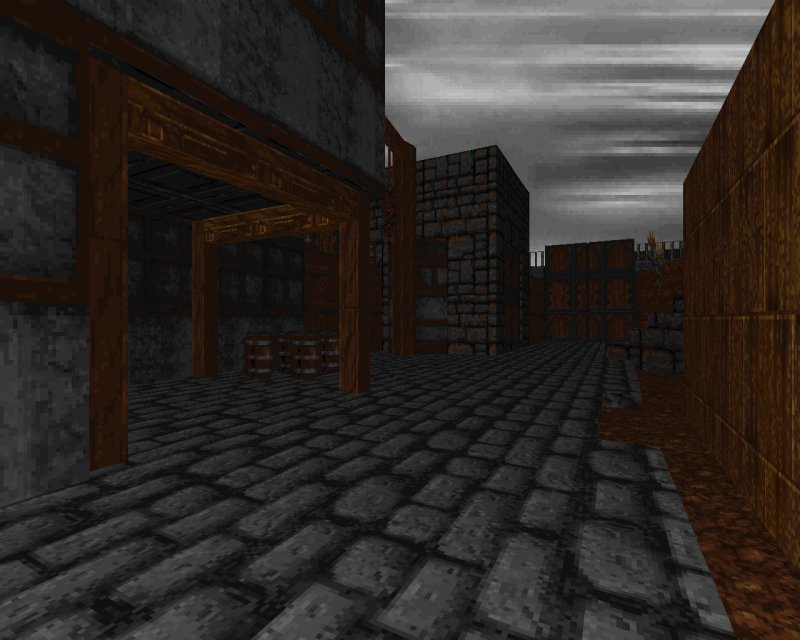
Everything hits off with the first level, The Beginning of the End, throwing us right into the action against a group of Golems and Imps in what appears to be a fortress of some kind. It was actually fairly tricky to get going since I was using the wand, not realising that there was a crossbow just waiting for me on an upper ledge and making the task harder for myself. There’s a good number of enemies to take out where the wand can be a bit too slow to keep up, forcing you to move around often unless you grab the bow early. As an introduction to the episode, the map isn’t too bad, a decent length with a range of foes to fight against while revealing the style of combat you will be coming across and good visuals. This pretty much continues into the second level, The City of Lost Children. It’s pretty obvious what the theme as the title suggests, taking place within the heart of a city. Rather than using the classic approach to buildings being made out of large stone blocks with windows, here they have been crafted to with an actual structure, using all kinds of trim and decoration to feel like a rich sector of a medieval town, in ways magical. The design is more apparent in the residential half though, forming a street layout. The action here doesn’t change too much and sticks to a moderate challenge like the previous one, except allowing for more space to move for both you and your foes.
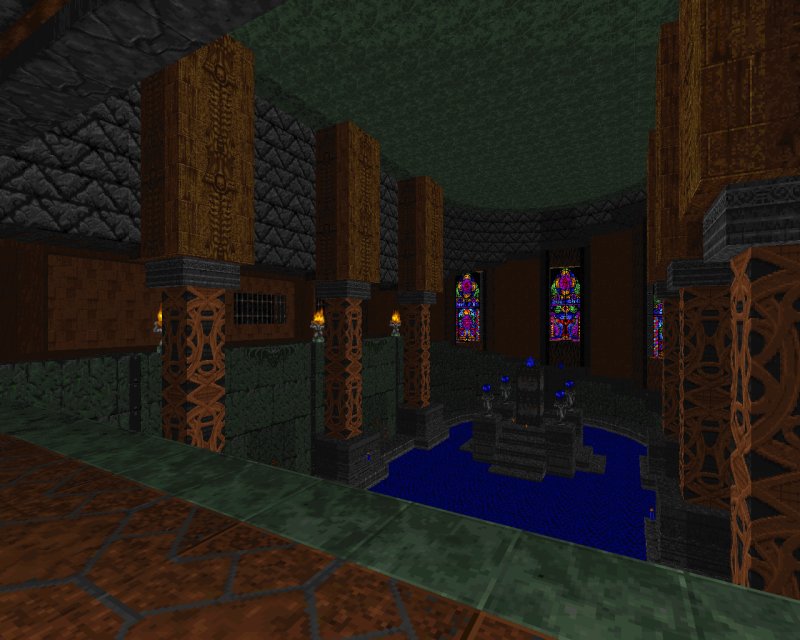
The third map is the point where the gameplay gets serious in The Order’s Chaos, heating up the combat by throwing larger groups of enemies your way and an indication as to what you can expect to find from here onwards. As for the visuals, I will get onto that in just a bit because it shares similarities with the next map, The Herakleion. This is an interesting map, which is actually split into two separate themes. For some time you’ll be navigating through the dark and foreboding swamps. The tension arises here as you will often not be able to see what is coming ahead of you which only brings a sigh of relief once you open the large doors to a very grand palace like interior. The contrast here alone comes from the bright lighting and colourful appeal. This level actually became one of my favourites because of this combination along with the gameplay, involving a lot of exploration, an interconnected layout, to find four switches to unlock the end. The biggest kick in the teeth throughout this map however is the number of Minotaurs just waiting to smash you with their hammer you in and really makes progression rather threatening. Now for the design, the neat part here is that the third and latter half of the fourth share a similar scheme of colour and textures, yet Kristus has done well to make them feel like different settings entirely by approaching architecture in other ways, including the general scale. While on map is small and tightly packed with many rooms, the other has a lot of high ceilings and winding hallways.


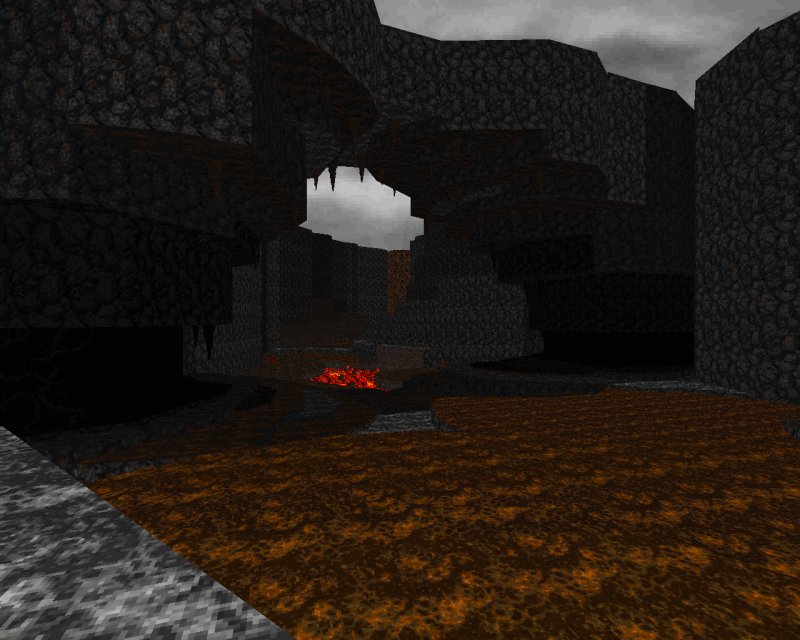
The River of Ladon and The Judas Cross are two maps which both take on a theme of lava and yet again manage to feel separate, not only by their location, but how they have been handled. The former is set within a large canyon full of dark caves and rough terrain, with wide ravines of lava flowing through them. The battles here can be tough due to the number of enemies coming your way and diminishing your supplies quickly, but being such an open map gives the player plenty of room to move around. There’s a lot of items hiding near the lava you can grab with some risky leaps from higher platforms too which can be a considerable help at times. Visually the level feels foreboding because of the dark, rocky terrain. Effort in the structure here is shown from the natural look of the caves including their shape, variations in height and other details. The next level however starts out on a more tougher tone because of the limited space available on the cross shaped bridges which work like a hub between areas. It took several attempts to get a good pace going here by attempting all kinds of methods, including finding a safe place away from the hub to battle it out on first before moving on. This only makes the level more tense, but also offers various means to go about the action.

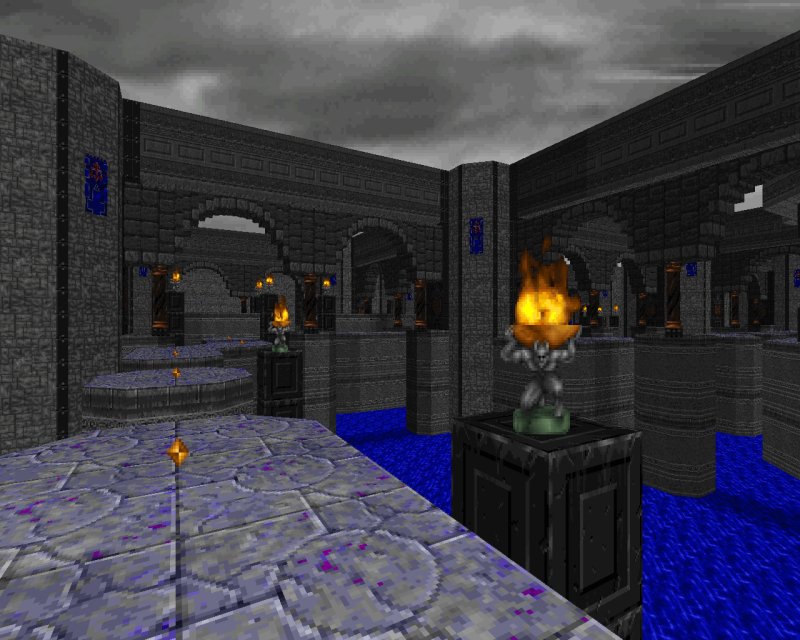
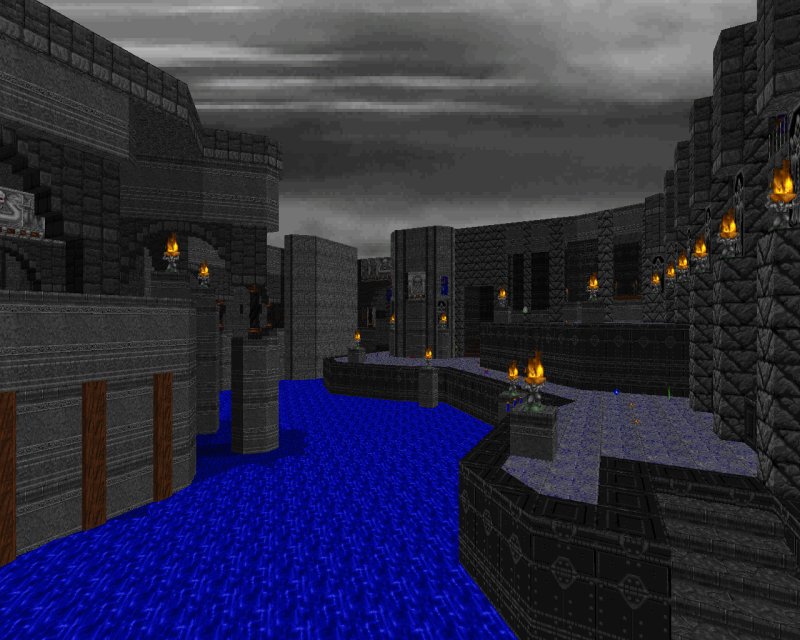
The Icicle literally cools down all those flames by throwing the player into a water and ice theme. Here the location visually makes use of curved edges, arches and walkways as its key focus on decoration and works so well to provide a detailed environment. One specific trait found here to create tension is the possibility to fall of the central pathways and into the many tight spaces below. This is a problem because many enemies await to corner you. Matters only get worse since the ice here is slippery, slowing down your movement and the layout here is very maze like. This is not somewhere you really wish to risk being found in. Supplies can be quite tight throughout this map too, even when exploring many side rooms, so it’s a good idea to save on ammo by not fighting enemies on the lower sections. This become another one of my favourite levels in the episode, not only by being a tough challenge to get through but also offers a feeling of accomplishment while you succeed in proceeding without too many errors, many optional places to explore for supplies and the sense of getting somewhere as pathways open up.
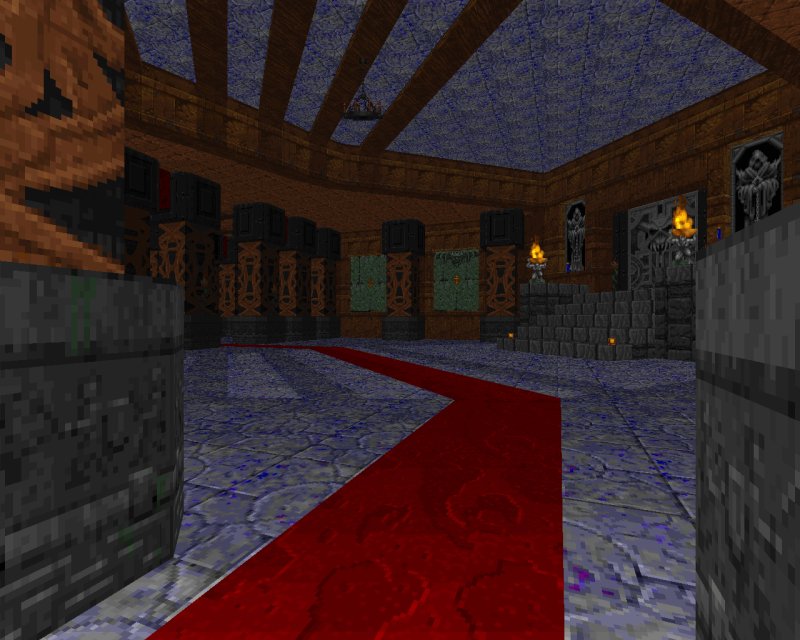
The Shadow and the Flame is the finale for the episode and where it also starts to show that the spark is dying down when the visuals don’t seem to stand out nearly as much as in the maps before it. For a small map though, it works quite well as a boss arena. The layout is an interconnected series of corridors and rooms design in various styles, including higher platforms, waterways and teleporters as a means to locate ammo and outrun enemies. There is even an abundance of secret places holding even more goodies to provide a helping hand. The ending greets you with a little cutscene to conclude this arc. But we’re not finished yet because there is still the secret level, the entrance hidden in one of the earlier levels. The Brother’s Onslaught is designed by the author’s brother, Karl Käll. This one does stand out on its own, but this actually comes from the difference in mapping style and approach to visuals. In some cases the design can be a bit average or the gameplay could have been tackled better, such as the damaged interior of the church or the choice of location for the keys not being obvious enough. There are some good locations though, like the underground sewer section where you will roam around trying to find a way to proceed onwards while worrying about an enemy sneaking up behind. It’s a decent map as a whole and not a bad one by any means.
Conclusion
The Curse of D’sparil is a pleasant and challenging journey through a variety of maps, each focusing on their own theme while offering great architecture, texturing and fun, horde based battles.
Download Mirrors
/idgames archive
Hi, thanks for the review. :)