 Author: Jason ‘Ottoj55’ Otto
Download: Here
Introduction
Released for the Vertical Contest, Third Time’s the Charm has Garrett going to a Hammerite monastery high on a cliff. Two months ago, Gaston the Red took a job from a collector and never came back. Another thief took the same job and also never returned. It’s up to Garrett to finish the job to seek High Abbot’s wand, The Scriptures of the Master Builder, the Hammer of St. Marcarius and the Violin of St. Humphrey. The Hammerites have already been robbed unsuccessfully twice, so they’re going to be on high alert, but third time’s the charm.
Gameplay
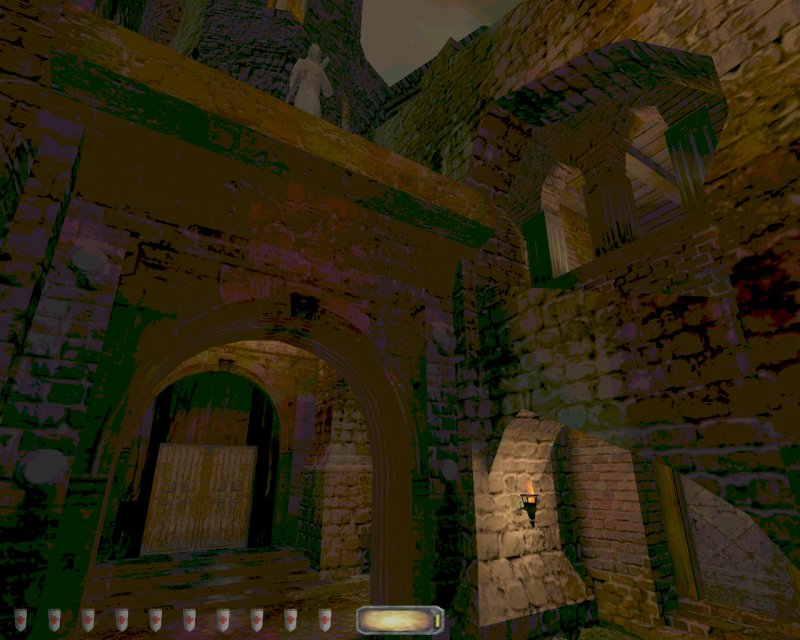
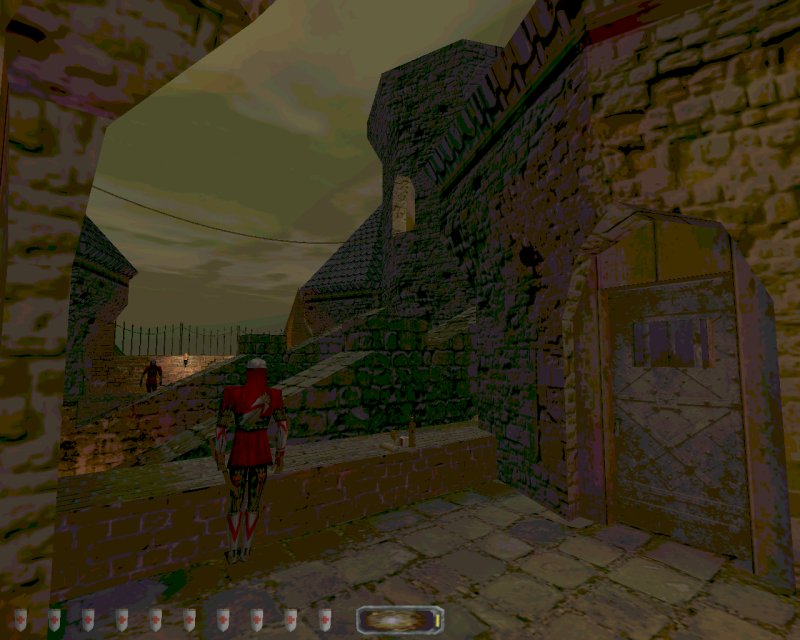
In this mission, you’re going to need to locate four different objects along with finding out what happened to Gaston the Red and to complete loot goal. However, since the Hammerites have had to deal with two previous attempted robberies, they’re on higher alert. The level has a lot of bright areas from torches almost everywhere. This reduces the amount of shadows to hide in, but the author has cleverly ensured there is always somewhere sufficient to hide. It’s not only the lights you’ll need to look out for, since this mission is fairly tightly packed with smaller rooms, though nothing too claustrophobic. The mission generally looks tricky at first, but it’s much easier once you’ve got comfortable with how lighting works. You’ll start with no idea where any of the items are located, slowly finding clues, keys and backtracking a few times.

Guards themselves don’t exactly patrol much either, only a few really create patience. Unless your preference is the blackjack then you’ll have no worries at all. There’s no rules about killing anyone in this mission, so you’re given the freedom to approach the tasks anyway you like and even given a few optional tools to use. One noticable item being the tranquiliser dart which can produce some hilarious results. During my playthrough, the dart itself was bugged where it would stick in the air after throwing it at a target giving me the chance to use it again. During another playthrough this never happened again. Going back to the objectives, these can be approached in any order you desire and there’s atleast three ways into the room with the wand. Even at the start of the mission you’re given the choice between two routes into the monastery.
Design
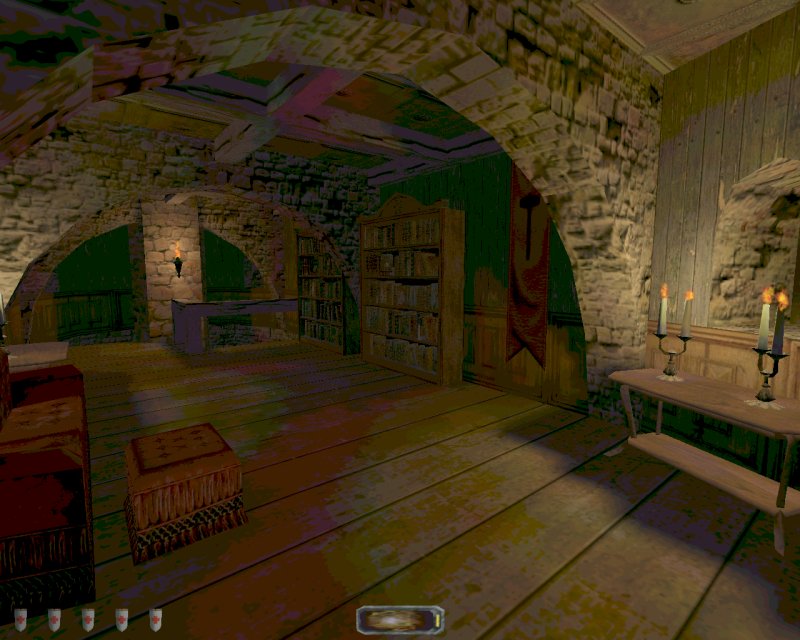
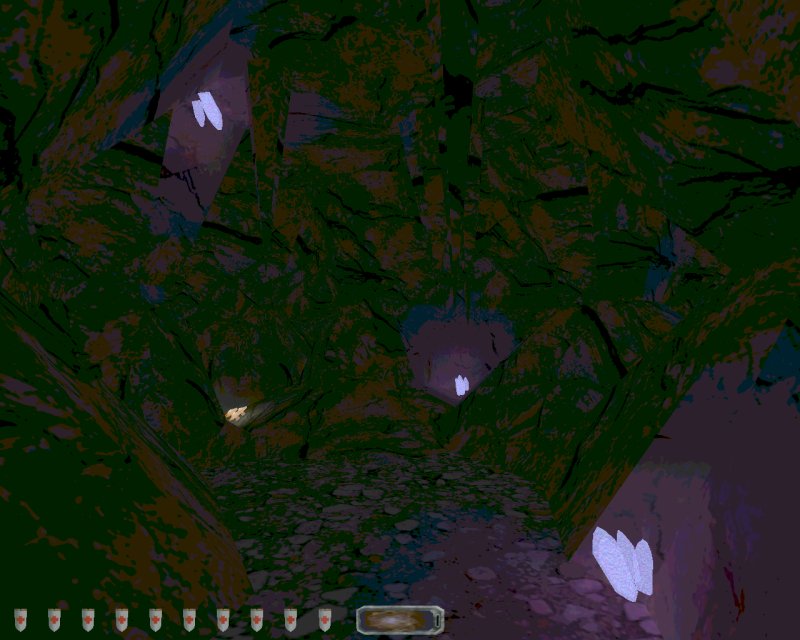
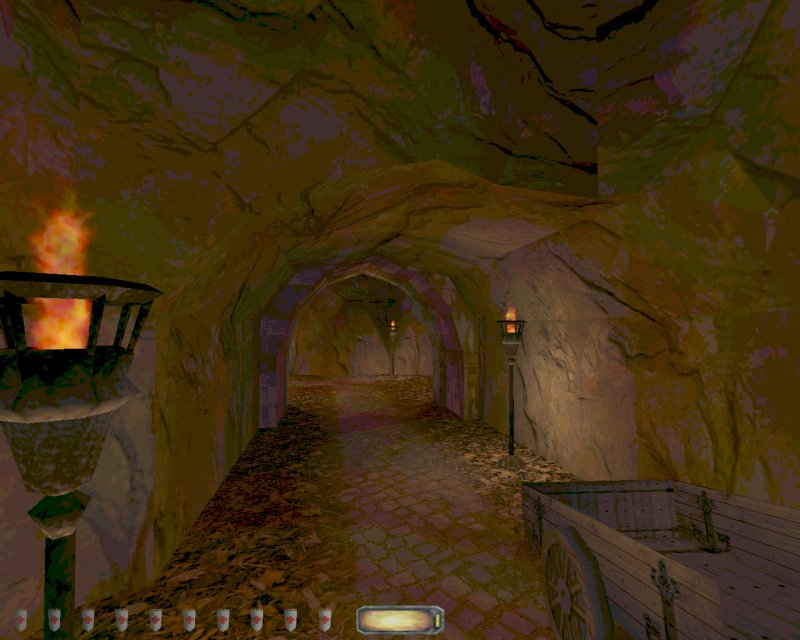
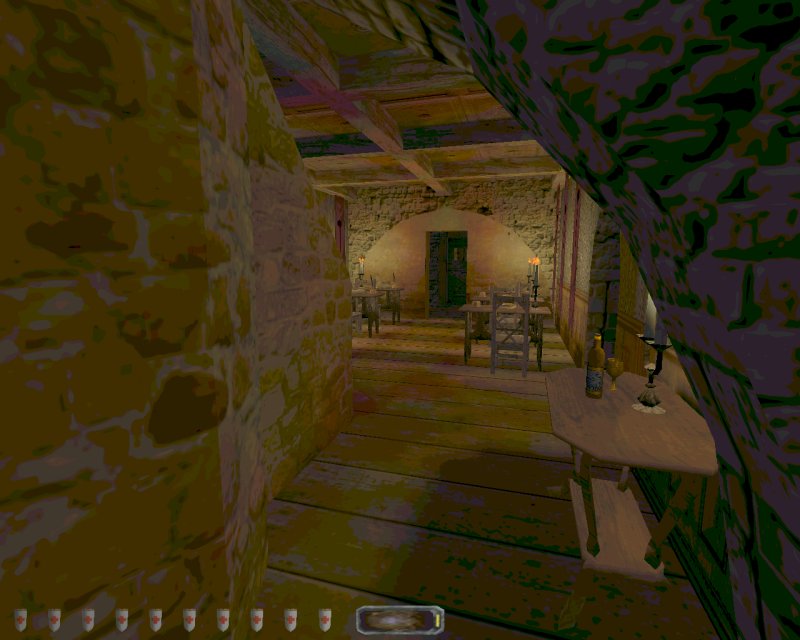
The mission is structurally done well, each room size is wide enough and the layout is simple. The small rooms aren’t cluttered with furniture and have just enough to represent the type of location they are. There are also a lot of arches used throughout the monastery and a few buttresses outside. Being on a cliff also makes the location feel more fresh and the the dark silhoulette against the sky works well. Even the rock terrain has some nice instances, like the small cave above the elevator with an interesting shape, or the cave leading to the secret entrance with the purple crystals and lighting. The mission generally has a good use of brown towns without looking dull that blend with the warm lighting from all the torches and candles. It simply looks good as a whole.
Conclusion
Four objects that need to be required and can be done in any order allowing some unlinear gameplay, through a lit up monastery with cleverly placed lights to allow some nice hiding spots. The design looks good as a whole with a good blend of browns and warm lighting.
Download Mirrors
TTLG Downloads